
Azure Cloud Shell is a browser-based tool that uses a shell to create, configure, and Manage Azure resources. Azure Cloud Shell supports the Azure PowerShell and Bash Command Line Interfaces. This tool is similar to the cloud shells provided by Google Cloud and AWS. It improves the convenience of Azure Cloud Management resources. The administrator may utilize the program from any computer in the globe without installing a client.
In this post, we will look at the Azure Cloud Shell Management quickly and show how to utilize it by building an Azure SQL Database with PowerShell cmdlets.
Table of Contents
ToggleHow to Launch Azure Cloud Shell Management
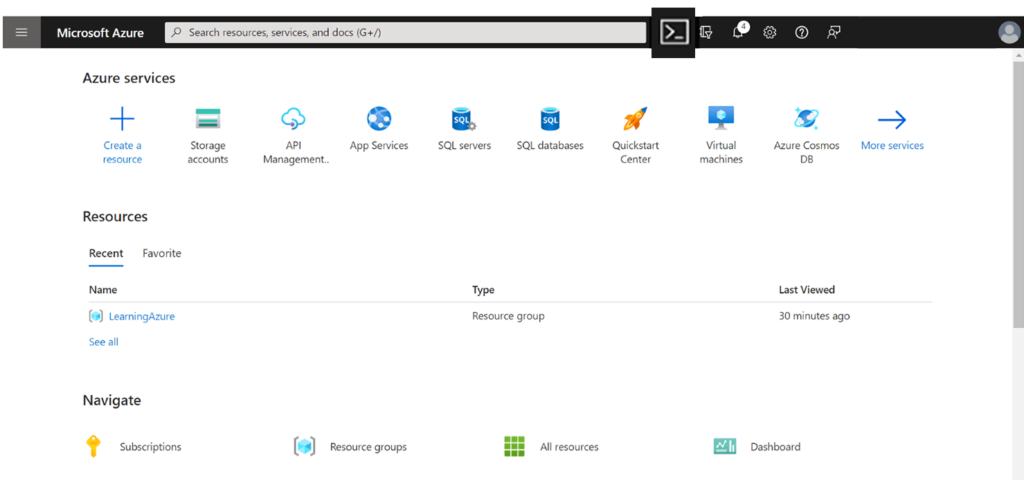
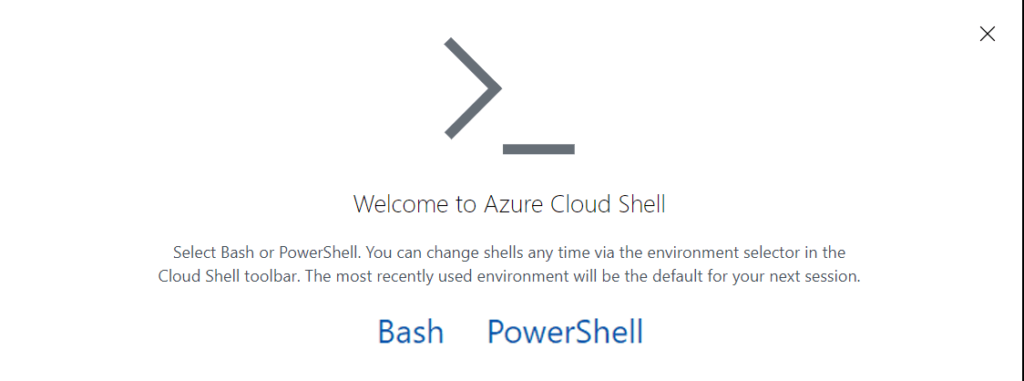
When signed in to Azure Cloud Management Portal, click the Figure icon to access the Azure Cloud shell. As a consequence, a pane on the bottom of the screen displays a welcome message and a request to select either Bash or PowerShell (See Figure 2). Your choice is based on your preference for the language you are most comfortable with. Unix-oriented administrators will most likely use Bash, whereas Windows-oriented administrators will use PowerShell. We picked PowerShell for the sake of this essay.
Azure PowerShell is identical to the long-established PowerShell and may also be installed as a client utility. In the background, Azure Cloud Shell installs PowerShell on Debian Linux, allowing you to use both PowerShell and Bash on the same high-end PC.
This service provides just enough configuration choices to allow you to be productive as a cloud administrator from anywhere.
Benefits of Using Azure Cloud Shell Management
When opposed to having a client tool on-premises, using a browser-based provides several significant advantages. It saves the administrator time in setting up an environment for dealing with Azure. Admins may write and save scripts on the cloud for reuse from anywhere in the world.
This second advantage suggests that using Azure Cloud Management necessitates the creation of storage in Azure. Figure 3 depicts this. This configuration step, like the establishment of any other Azure resource, incurs costs.
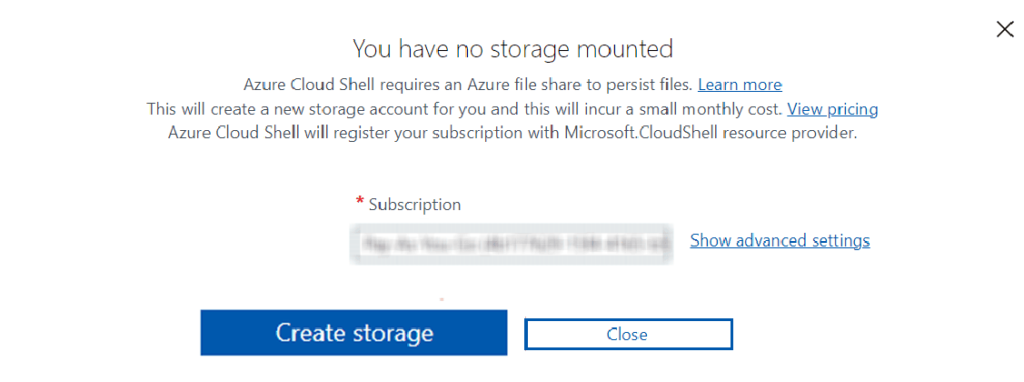
Figure 4 shows that the storage account generated is quite comparable to any other storage account created outside of Azure Cloud Shell.

Azure Cloud Shell Interface
Once installed, Azure Cloud Shell looks quite similar to a Windows PowerShell interface. The setup method connects to Azure and configures the drive.

There are seven menu choices in Azure Cloud Powershell.
- Restart Cloud Shell
- Help
- Settings
- Upload/Download Files
- Open New Session
- Open Editor
- Web Preview
Restart & Help Button in AWS Cloud Shell
This button merely reloads Azure Cloud Shell and resumes the active session. The help button displays choices for loading tool documentation. The Azure PowerShell reference (see Figure 9) is particularly useful among these resources.

File Upload/Download
You may use this button to move files into and out of your Storage Account. You may learn more about this and related features by clicking here.
Create a New Session
This button launches a new shell in a new browser tab. When scripting, it is advantageous to get additional “real estate” and run many windows.

Launch the Editor
The editor allows you to create new text files and interact with existing ones. On the left pane, you may traverse Azure folders and open files.
Web Demonstration
Web preview enables you to test full-fledged web apps in the cloud shell container before deploying them to production. You can utilize a specific range of port numbers for this reason.
Establishing an Azure SQL Database
In this part, we will establish a basic Azure SQL Database using Azure Cloud Schell. If we were unfamiliar with the commands required, we would review the manual or simply utilize the help function (see Figure). It’s worth noting that the help command invokes the well-known Get-Help cmdlet.

“Help SQL” produces a list of all cmdlets with the string “SQL” in their names.

We may search this list for the cmdlet required to build an Azure SQL Database instance. To be more particular, we may use the command “help new-azsql” to obtain the displayed command.
When we run this cmdlet, it prompts us for three parameters: DatabaseName, ServerName, and ResourceGroupName. We cannot, however, run the script properly by entering these arguments on the fly. To establish an Azure SQL Database, we must first have an existing Resource Group and SQL Server.

Creating an Azure SQL Database
Create a Resource Group first. A Resource Group is defined as “a container that holds related resources for an Azure solution” by Microsoft. Resource Groups are a method of logically categorizing all of the resources used to produce a single solution. We use the command to establish a new Resource Group for our use case.
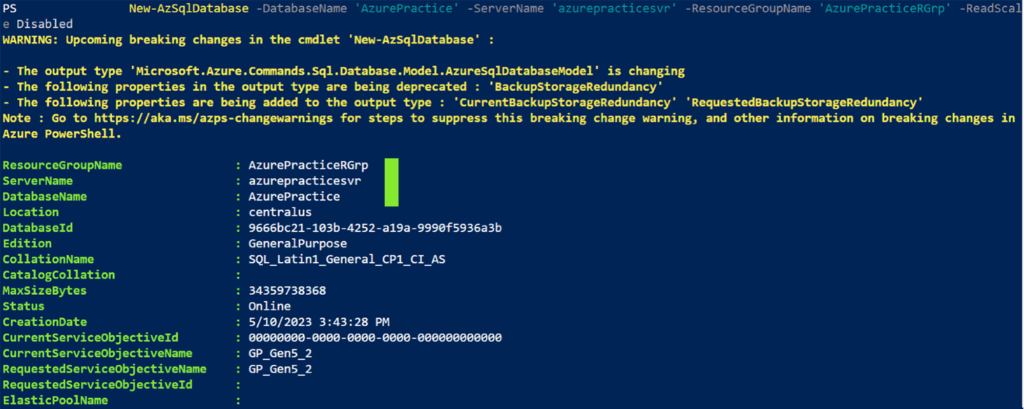
The points we’ve presented suggest that we’re back in the Central United States. We just want AD Authentication, and ‘Kenneth Igiri’ is the instance administrator. We’ve also mentioned the Resource Group that we established in the previous phase for SQL Database.
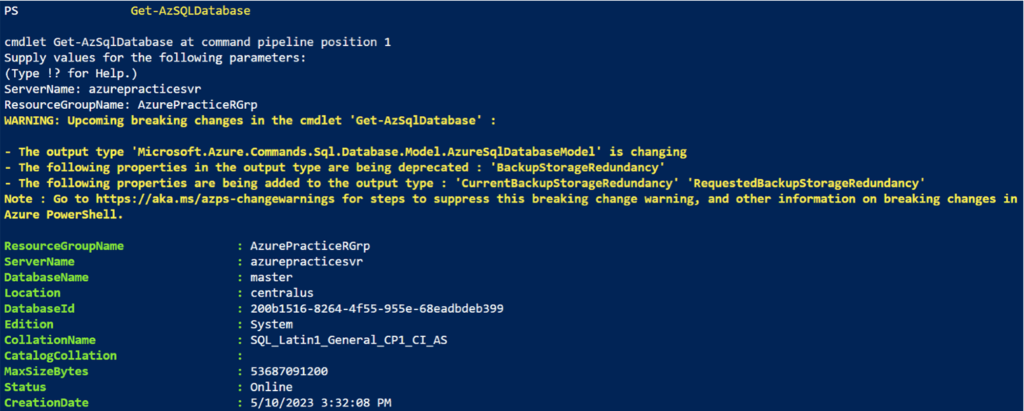
To validate our actions, we may use Azure Cloud Shell Cmdlets to access server and database information. We may also view the resources using the Azure Portal GUI. Take note of the endpoint for connecting to this instance. This will come in handy while connecting to the instance.
Conclusion
Finally, Azure Cloud Shell is a reliable and simple tool for Azure Cloud Management, allowing users to easily build, configure, and manage resources. Whether you prefer Azure PowerShell or Bash Command Line Interfaces, this browser-based solution provides versatility and accessibility from anywhere in the world, without the need for client installs. We’ve looked at how to use Azure Cloud Shell’s ability to easily construct an Azure SQL Database using PowerShell cmdlets in this post. This demonstrates the tool’s effectiveness in simplifying complicated operations and making cloud administration a breeze. With Azure Cloud Shell, you can embrace the future of cloud management and unleash the promise for efficient resource administration.


